Millions of users have reported that Windows 10 refuses to remove the printer from its default selection printer. Some users claimed that uninstalling the printer device through the Device menu shows a confirmation message. But even after trying to fix it or accept it, nothing happens.
Facing the same error? Don’t panic. Here are 5 amazing techniques that will assist you to fix the problem within the least possible time.
5 Expert Solutions to Fix Printer Error on Windows
Below we have listed a collection of fixes that other Windows 10 users can easily implement to remove, change or uninstall the printer driver.
-
Uninstall the Printer Driver via Print Server Properties
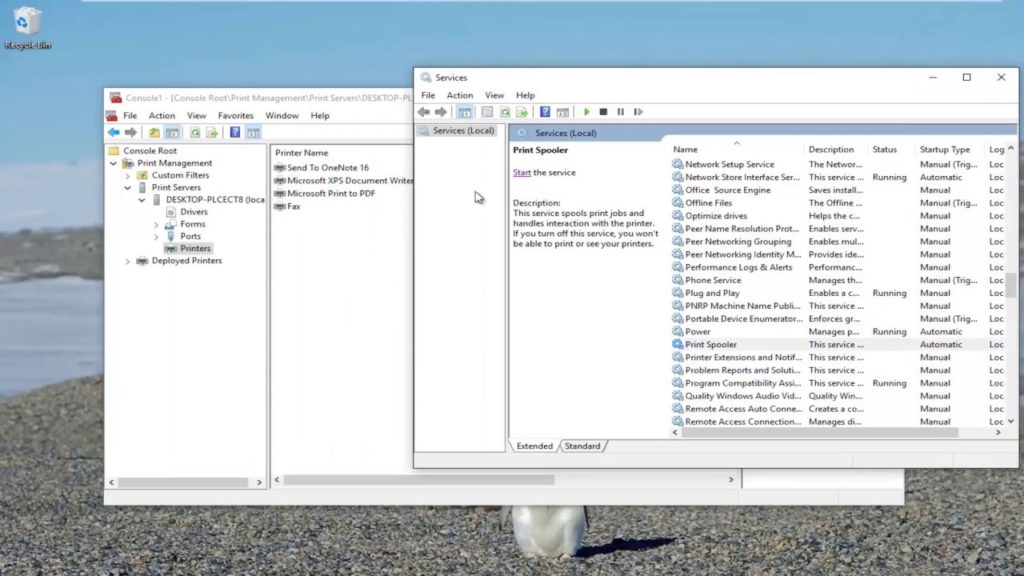
At first, you are suggested to remove the printer through Printer Server Properties. To implement the task, simultaneously press the Windows and S keys. From the Context menu, select the ‘Devices & Printers’ option.
Within the ‘Devices & Printers’ window, choose any printer and then click on the Print Server Properties option. Under the Print Server Properties tab, scroll down and tap on the Drivers tab. Next, choose the printer that you wish to remove. Furthermore, hit the Remove button. Next, mark the box beside the ‘Remove driver and driver package’ option.
When finished, tap on Apply followed by OK in order to bring the changes into effect. Next, proceed to the Setting app. From there, proceed to the System option. Thereafter, click on the ‘Apps & Features’ option. Under here, locate your printer driver/software and then remove it from your Windows 10 device.
-
Edit the Registry
According to some users, if you can’t remove a printer from your computer, you might need to change a few values in the registry. Keep in mind, changing the registry can damage your Windows 10 device. Therefore, it will be a better idea to keep a backup of your important data.
Now, you should press the Windows and R keys, to open a Run dialogue box. Type ‘regedit’ in the run box. Hit the Enter key. When the Registry Editor window opens, move to the left column and select the ‘HKEY_LOCAL_MACHINE\SYSTEM\CurrentControlSet\Control\Print\Printers’ option.
Next, you should expand the Printers key and locate your printer. Right-click on it and from the Context menu, select the Delete option. Keep in mind, you shouldn’t delete any other key from the registry.
After completion of this, reboot your computer. After that, proceed to the ‘Devices & Printers’ window, locate your printer driver/software and delete it.
-
Cancel all the Print Jobs
Sometimes, if there are still active print jobs, you can not remove the printer. In such circumstances, you must cancel all the printing jobs and then uninstall the printer. For that, open a Run dialogue box. Now, enter ‘C:\Windows\System32\spool\PRINTERS’. Finally, hit the Enter key to open the folder that holds the printing jobs.
Now, to get the permission to edit the Printers folder, you have to click on the Yes button. In case, the Printer folder is not empty, you should try clearing the pending job. When complete, restart your computer and try to remove the printer from your device.
-
Use the Setting Menu
To remove the printer from the Setting menu, open a Run dialogue box. Hope, you might know how to open the Run dialogue box. Enter, ‘ms-settings:connecteddevices’ in the input field. Hit the Enter key to move to the Setting menu. From there, proceed to the Connected Devices menu.
Under there, go to the left-column and tap on the ‘Printers & Scanners’ option. Afterwards, select your printer in order to expand the drop-down menu. Then, tap on the Remove Device option.
-
Remove the Printer through Control Panel
By using the Control Panel, you can remove the printer. To perform the task, use the previous solutions and open a Run dialogue box. Enter the ‘control panel’ in the run field as well as press the Enter key.
Double-click on the first search result to open the Control Panel. There locate and tap on the ‘Devices & Printers’ option. Thereafter, you should expand the Printer drop-down menu. Next, you have to right-click on the printer that you don’t want anymore. Furthermore, choose the Remove Device option.
If a confirmation window appears, click on the Yes button and reboot your system. In the next startup, the printer driver/software will disappear from your Windows 10 device. However you can connect with printer repair experts for further solution.