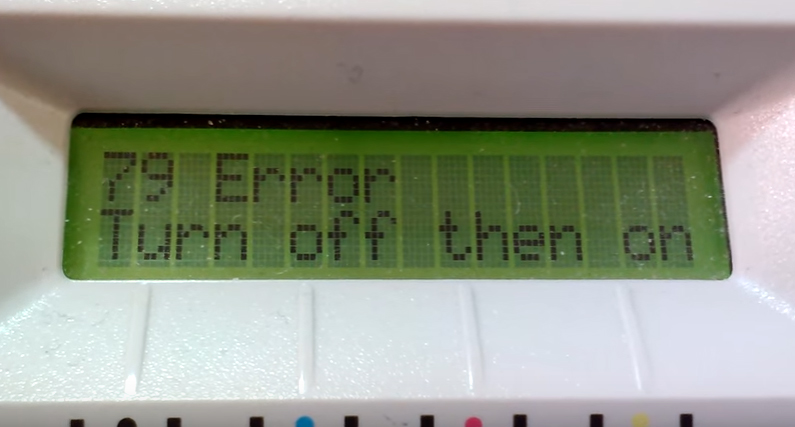
HP users reported that they encountered error code 79 while trying to print a document. Most of the time, if you have a poor wire and internet connection, you might face this issue.
Furthermore, due to an outdated printer’s firmware and an issue with the DIMM can be considered as a primary reason for this error code. Also, if print jobs get stuck, then also you might have to deal with this problem.
Once this error code appears, you won’t be unable to print anything from your HP printer. Fortunately, in this guide, we are going to discuss some easy techniques that you can try, to fix the error.
Solutions you can try to Fix the HP Error 79
Before moving to the solutions, at first, you have to ensure that you have a stable internet connection. Also, thoroughly inspect the cables that are connected between your device and printer.
If you find any faulty cable, replace it with a new one. Restart your device and try to print something. Still, unable to print? Recurrence of the error code? Follow the solutions provided below.
Solution 1- Check the Printing Jobs
As said earlier, if a print job gets stuck, this error code might appear on the display. In such a condition, you should press the Windows and R keys together on the keyboard. After that, a Run dialogue box will appear at the bottom right corner of the screen.
Enter ‘control printers’ within the Run box and after that click on the OK button. This will open the ‘Devices and Printers’ window. Under here, scroll down and choose your printer name from the list of options.
Once you have selected your printer name, right-click on it, and instantly a menu will pop-up on the display. Within this menu, search for the “See what’s printing” option and then tap on it.
Then, a pop-up window will appear on the display that will show which document is stuck. Choose that file and after that right-click on it. From the list of options, click on the ‘Cancel the document’ option.
Again, click on the Cancel button and after that, the HP printer will remove the print queue. Reboot your system. Put some paper inside the printer and try to print. Unfortunately, if the error code persists, check out the below remedy.
Solution 2- Update the Software
Sometimes due to the outdated software, you might experience the error code 79. To fix the problem, you have to update the printer software. For that, first, press the Home button on your HP printer in order to proceed to the Home Screen.
After that, go to the Settings menu. Within the Setting menu, scroll down and select the Setup Service option. Under here, you should locate and click on the LaserJet Update option.
Lots of options will appear on the screen. From there, click on the ‘check for updates now’ option. Now, your printer will search for the available update. If an update is available your device will automatically update and download it.
You should wait until the completion of the updating procedure. When finished, restart your device and try to print a document without this error code.
Solution 3- Reinstall DIMM
You have already applied the above two solutions and none of them works for you, right? Then, you are advised to reinstall the DIMM. To perform the task, at first, you should turn off your HP printer.
Furthermore, remove the DIMM. Wait for sometimes and again reinstall the DIMM and ensure that it sits properly. Finally, turn on the printer.
If the error still occurs, then you should remove any installed DIMMS. After that, you have to perform a retest on the printer. Now, if your HP printer works correctly, install a DIMM supported by the HP printer.
Solution 4- Update the Printer Firmware
In order to update the HP printer firmware, at first, you should turn on the HP printer. Thereafter, via an Ethernet cable, connect the printer to the system. Navigate to the printer’s Control Panel and click on the Network icon.
Now, to ensure that the printer is successfully connected to the network, you should check the IP address. Next, move to the Home Screen and tap on the Settings icon. Under Settings, click on the Printer Update option to check the available updates. If an update is available, download and install it on your device.
Solution 5- Reinstall the Printer Driver
You can also try to reinstall the HP printer drivers. To do so, first, type ‘control panel’ in the Windows search bar. Double click on the first search result to open the Control Panel.
Under the Control Panel, select ‘Uninstall a Program ‘option and then remove all the printer related software. Next, right-click on the Start menu and choose Device Manager from the list of options.
Now, within the Print Queues, you should remove the HP devices. Reboot your computer and wait for some time until the printer driver automatically gets mounted. Finally, again install the HP printer software and start printing without any further hassle.